
Hi! I'm Pat from Color Me Quilty! I'm just thrilled that Jess asked me to do a guest blog post on free-motion quilting (FMQ). I am so honored because Jess is a phenomenal quilter. FMQ is one of my most favorite elements of the quilting process. I started playing around with FMQ about three years ago and have had a blast ever since.
 |
| My layers quilt, quilted on my Pfaff QE 4.0. Queen sized, done in a QAYG method shown here. |
Start by setting yourself up for success.
- Practice samples
- Sewing Machine set-up
- Thread and Batting
- Ergonomics
- The quilt project
1. Practice Samples
I never jump into FMQ without warming up on a practice quilt sandwich. If you are brand new to quilting, practice sandwiches are where to start.Heck, this is how I start EVERY quilt project.
 |
| First practice samples |
These were some of my very first practice pieces. I started with cheap fabric from Walmart in a solid beige color. Solids are much better to start with because you can see your stitches. Choose a contrasting thread.

Then start with some wavy lines and some loop-de-loops.

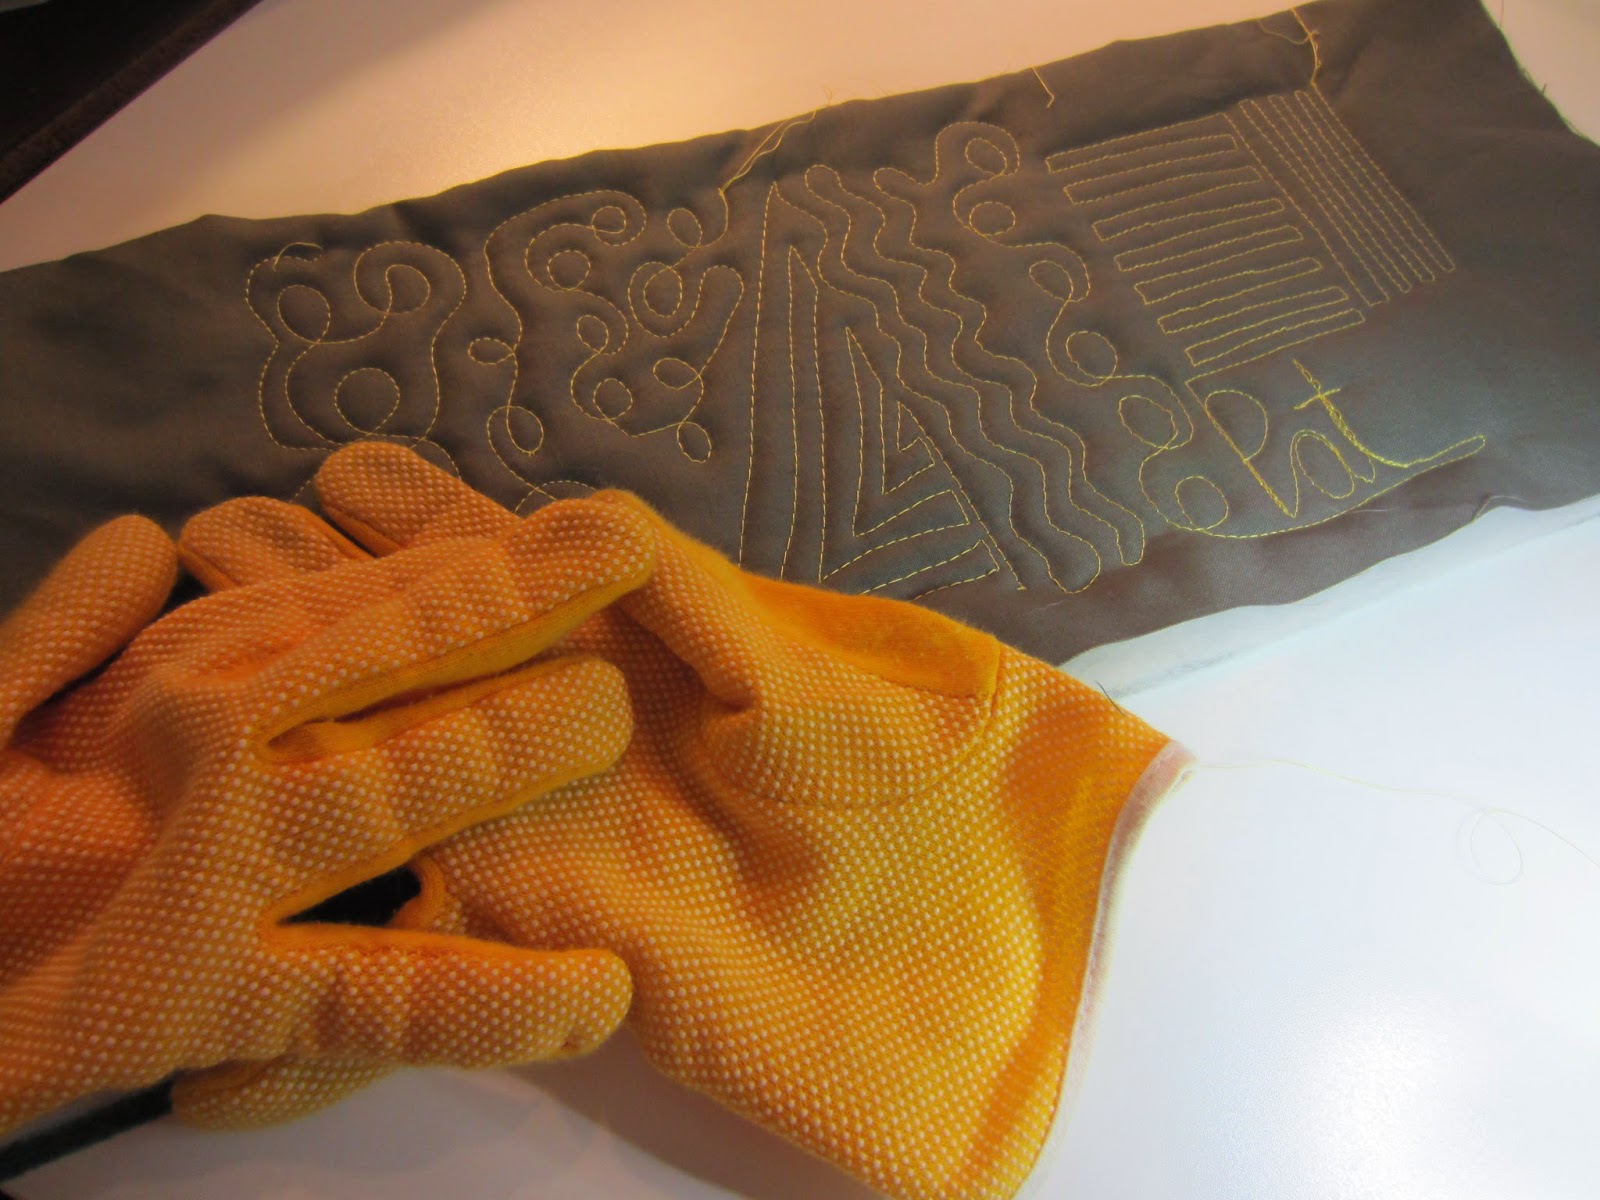

Gloves are a good idea to use. Everyone raves about Machinger gloves, but I prefer these light cotton gloves from JoAnn's (I think they are Fons & Porters). If you really hate gloves, there are products to make you hands grip the fabric better. It's hard to move the fabric around without something to help grip.

 |
| Check out Leah Day's site for LOTS of quilting help and design ideas |
2. Machine Set-up

 If you can, slow down your machine speed, until you get some good hand/eye coordination. Put it on about half speed, going too slow can cause as many problems as going too fast. Your hands will have trouble going too slow or too fast.
 |
| Quilted on my Pfaff QE 4.0 |
One of the big issues you will most likely need to address is thread tension. I don't think I've ever quilted on a machine where I didn't at least change the top tension, almost always I've had to change the bobbin tension also.
 This is a sample practice piece I did last night. Look closely at the stitching for tension issues.
Do you see how some of the stitches were "loose" on the top. I needed to tighten my top tension.
The back wasn't bad, but if you looked close the bobbin thread was almost just laying on the back, not pulling into the sandwich. Sorry, it is hard to see on this picture. Clean your bobbin case after every bobbin change.
 |
| the back |
Rule of thumb for setting machine thread tension:
1. If you see top thread showing on the back, bobbin thread just laying on the back, then you need to either loosen the bobbin thread tension and/or tighten the top thread tension.
2. If you see bobbin thread on the top, top thread just laying on the top, then you need to loosen the top thread tension and/or tighten the bobbin thread tension.
EACH thread and batting combination may require you to change the tension.
 |
| Open-toe foot on my Babylock Ellegante' |
Another little helper is my Supreme Slider. It's a thin, slippery mat that you put on the bed of your machine. There is a hole you line up your needle with and it lets your quilt move much easier under the needle.
 |
| Supreme Slider |
3. Thread and batting.
There is a LOT of personal preference when it comes to thread and batting. So I'm going to tell you what my favorites are and why, but really try different kinds of both thread and batting and see what works for you.
 |
| The orange threads are 28wt Aurifil, the blue is 50wt. |
Thread: Okay, I admit it, I'm a huge fan of Aurifil thread, both for piecing and FMQ. Aurifil is a strong thread that comes in four different weights of cotton thread. It has the least amount of lint of any cotton thread I've ever used. Thinnest is 50wt (which I use most of the time), they also have 40wt, 28wt and 12wt. I don't think you can machine quilt with the 12wt and it's pretty hard with 28wt (but it can be done). Aurifil runs wonderfully well through all of my machines. Also, they have fabulous customer service. I once had a problem quilting with it and Alex Veronelli (from Aurifil) actually emailed me and helped me figure out the problem, which by the way was the batting! As a Quality Manager for nearly 30 years, that made me a LOYAL customer!
 |
| An experiment with thread. Click here to read more |
Batting: I have experimented with LOTS of different brands and types of batting. My favorite is Quilters Dream Puff and Quilters Dream Wool. Both show off your quilting by giving just the right amount of loft (puffiness). I also like Quilters Dream cotton and low-loft cotton, but they are quite flat and your quilting won't show off as much, but great if you have a small throat on your sewing machine (you can fit more of the quilt into the throat with a thinner batting). Quilters Dream is consistent thickness throughout the sheet of batting and there is no scrim (sort of like a plastic reinforcing layer). Batting with a scrim you must be careful on which side up you put your batting, click here for more information.
 |
| Aurifil 50wt thread and Quilters Dream Puff batting |
This is one of the most over-looked areas when it comes to FMQ, I believe, but it has a huge impact on the quality of your quilting.

 |
| This chair will rise up quite high. |
You can also lower your table (my husband cut 3.5" off of a standard folding table). An extension table will help give your a larger working space. This is an adjustable table made by Sewing Mates.
 |
| This adjustable extension table will fit around most machines |
 |
| Gidget II table and insert. |
I paid around $220 for my Gidget II about 2 years ago. You could spend that much for fabric for one quilt. It made more of a difference than anything else I tried. There are other brands of tables that do the same thing. Find one that suits you and your budget. Notice that I put tables to the back and side of the machine. This works great for holding up big quilts. Nothing ruins FMQ faster than a quilt that drags on the machine because it's partially on the floor. To FMQ, the quilt must be able to float under the needle.
5. The Quilt Project
If you are just learning to FMQ, don't pick your daughter's wedding quilt project to learn on, it will make you crazy. Start on a small project, like potholders or placemats. Heck, just do some fun samples. I made samples for a long time. My first quilt was a FMQ sampler.

 I won't recommend using batik fabric to start with, it can give you problems quilting. Use a sharp/microtex needle if you do use it. I used very thin cotton batting and crazy busy backing (harder to see the imperfections). It was a lot of fun to quilt and I use it to cover the sofa my dog sleeps on. I really do love this quilt.
 Try using large scale fabric and learn to quilt around all of the objects in the fabric. Check out this baby quilt. I used fleece for the backing and batting, just two layers.
 I hope this will give you the urge to FMQ, it is more fun than you can even imagine - DOODLING on your quilt.
Thanks again to Jess for inviting me to do this guest post!
Color Me Quilty!
Pat
10 comments:
Oh my goodness, there is so much 'gold' in this post! Especially for a newbie to FMQ, thank you sooo much :)
Such a great post! I love all the info and really must give this a try. Thanks!
Great post on FMQ! I've picked up a bunch of good ideas here! Many thanks, CW
Lots of really helpful information.....thanks so much.
Loads of great advice there :o) I have a table I sew on that has adjustable legs (technically it's my dining table, so I ought to be able to put it back to people height ;o) ) and it was the best thing I did to change the legs out when I couldn't get the chair to be quite high enough
Thanks the info on the threads and battings was really helpful and new to me. I was thinking of getting a gidget 11 some time ago I'm glad to see you like yours. Lisa
I have no plans to do FMQ anytime in the near future, but I sure am glad I took the time to read this post. Very informative. Now I have a much better idea of what I need to be aware of when I finally do get around to FMQ.
That's my problem, the table and chair, love your set up and thanks for all of the tips.
I had no idea about the different sides of the batting and quilting! Thanks for sharing!
wow
Wow I love that baby quilt. I really need to practice my FMQ more. I don't do enough to get good at it so then I avoid it like the plaque! Great info. Thanks!
Post a Comment